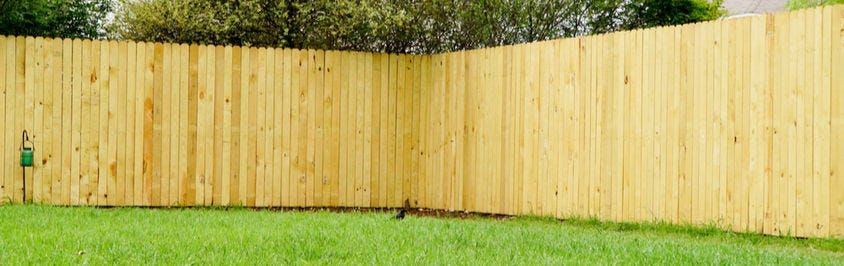
Closeboard fencing is one of the most popular fencing types among our customers and across the UK, and it’s easy to see why. It’s known for its strength and versatility, as well as the classic design. This type of fencing is built using vertical featheredge boards that partially overlap for privacy and stability. These are then fixed to horizontal boards behind. It is the most efficient way to build a wooden fence.
If you’ve decided to use closeboard fencing to create the perfect boundary for your proeprty and are ready to install, read our step-by-step installation guide and have your closeboard fencing installed in no time.
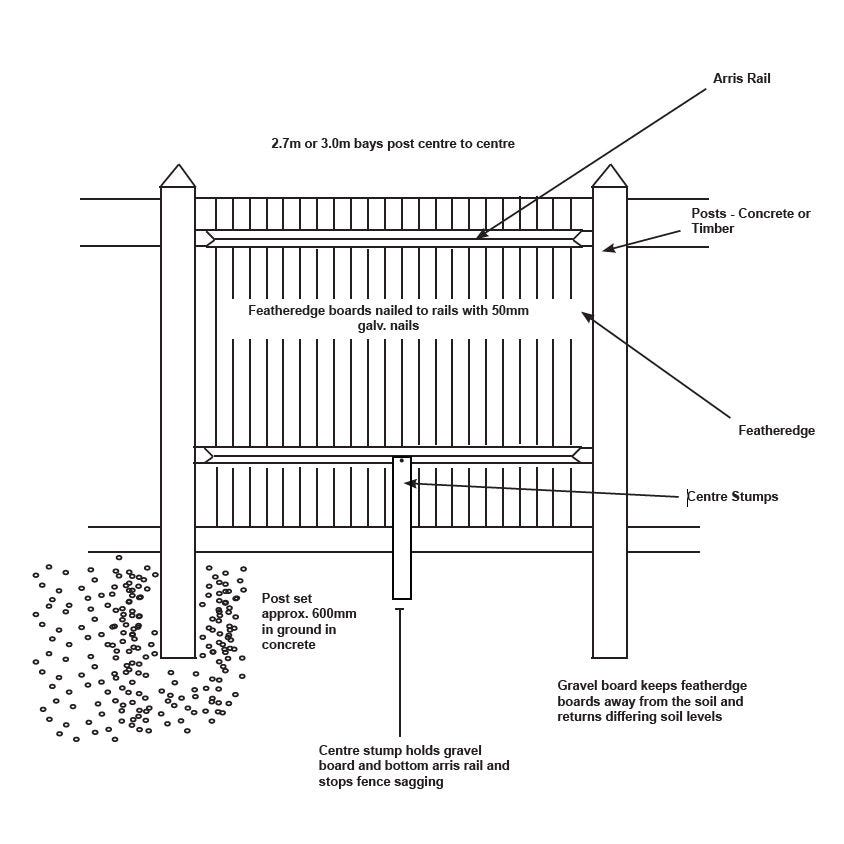
Fig 1.
Top Tips:
- Closeboard fencing is erected on site using concrete mortice posts, or timber 100x100mm posts, gravel boards, arris rails and featheredge boards.
- The gravel boards and arris rails will require cutting to ensure they are exact length and shaping on site. However, you may find some gravel boards and arris rails do come pre cut in set lengths.
- Featheredge boards are usually pre cut to length.
Did you know?
All Lawsons timber is supplied treated with preservative.
Installation Procedure
Measure each run of fencing and divide into bays of about 3.0 metres.
Each bay must have 1 post, 1 gravel board with 2 cleats, 1 centre stump, 2 arris rails for 1.65m, 1.8m and 2.1m posts, 3 arris rails for 2.4m posts.
Allow 4 featheredge boards for each 300mm of fence (40 for 3.0m bay) when using 100mm featheredge.
Add one post for the end. Allow one bag of postcrete for each post.
Dig a 600mm deep hole and set the first post in postcrete.
Gravel Boards
When using concrete posts and concrete gravel boards, use the metal cleats slotting the pins into the concrete posts and bolt the gravel board onto cleats.
Concrete posts have 4 cleat fixing holes – the bottom two are for 0.9m, 1.2m, 1.5m, and 1.8m high fences, the top 2 are for 1.05m, 1.35m and 1.65m high fences.
Fig 2.

If using concrete posts and wooden gravel boards, use drilled wood cleats and bolted them to the posts, and nail the gravel board to the cleats.
If using timber posts, timber cleats are nailed to the post, and the gravel board nailed to the cleat.
Arris Rails
Shape the arris rail ends to fit the post mortices 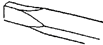
Measure to the next hole and dig the next hole. Stand second post in the hole and fit rails into mortices, bottom rail first, and concrete base.
Note: Arris rails must be 100mm longer than gravel board to fit into the mortice.
Attach the gravel boards.
Work down the fence line keeping it straight and the tops of posts in line.
Return to fix stumps to centre of bottom rail to stiffen centre of bay and support weight.
Nail the featheredge boards to rails. They sit on top of the gravel board and lap at least 20mm, secured with 50mm galvanised nails.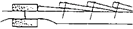
FAQ’s
1.8m high fence has 3 rails.
Use 2.4m or 2.7m posts with 1.65m
featheredge.

You need 4 100mm featheredge to cover 300mm
You need 3 125mm featheredge to cover 300mm
You need 1 bag of postcrete per post
Related Articles: