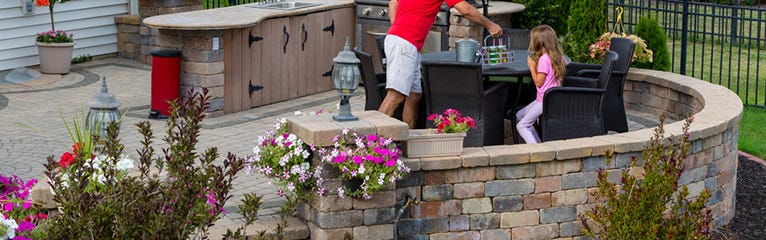
Retaining walls have many usages; as well as being a great way to help with erosion and water drainage they also create a beautiful usable garden space. And thanks to interlocking, stackable blocks, projects can be completed quickly.
Building a retaining wall can be a tough job but it is something most homeowners can handle. Here’s what you need to know and the steps you need to take to build your own brick retaining wall.
Step 1 - Dig Trench
Dig a trench for the footing of your brick retaining wall. Generally speaking, the footing should be about 3 to 4 times wider than the base of the wall. For example, if you are using regular red bricks to make your retaining wall, you should dig your footing trench about 12 to 18 inches wide.
Step 2 - Install Footing
To create the footing for the retaining wall, lay steel reinforcing bars in the trench and tie them together with thin metal wiring. You will then need to mix the concrete in a wheelbarrow, carefully following the instructions on the bag of cement mix. Using the shovel, you can then spread the cement mix in the footing trench. Allow the cement to cure and dry before continuing.
Step 3 - Lay First Row of Brick
Mix some mortar, and spread a thin layer of mortar mix on top of the cement footing. Then, start laying your bricks so that they are about 1/2 inch apart and in a straight line. It is easier to lay your bricks in a straight line if you use a chalk line to create a straight line on top of the cement footing. Once you have the bricks aligned, go back and fill in the seams between the bricks with mortar mix. When filling the gaps between the bricks, make sure that the mortar is packed tightly and goes all the way up to the top surface of the first layer of bricks.
Step 4 - Continue Laying Bricks
Lay the second row of brick by spreading a layer of mortar mix on top of the first row of bricks. When placing the second row of bricks, place them so that they overlap the seams on the first row of bricks. Make sure that the edges of the bricks are aligned with the first row before setting them into the wet mortar mix. Then, just as you did with the first row of bricks, go back and fill the gaps between the bricks with mortar mix.
Step 5 - Install Cap Row of Brick
Once you have reached the desired height for your brick retaining wall, you will need to install a cap row of bricks with coping stone bricks to finish the installation. Coping stones are used to cap a free-standing wall. Coping stones perform an important role in preventing rainfall from penetrating the wall. You will install the coping stone row of bricks in the same way that you did the other rows of bricks. Once you have the cap row installed, go over the surface of the top of bricks and make sure that they are free of excess mortar. Then, take a wire brush and go over the entire surface of the wall and remove excess mortar that may have spilled onto the face of the bricks.
Building a brick retaining wall is not as difficult as you may think, and we hope that this easy to follow five step guide has helped show you everything you need to know to get started!