Once you have chosen and bought your wooden cladding, you may be considering whether it’s a DIY job or time to call in the professionals. You will need to have some experience with DIY projects to successfully and safely install your wooden cladding, but it can definitely be taken on by more seasoned home improvers.
You will need:
- Your cladding
- Battens
- Wood filler
- Cladding pins
- Varnish
- Power Drill
- Saw
- Claw hammer
- Spirit level
- Pencil
Preparing Your Cladding and Wall
Wood needs to acclimatise to its surroundings – installing cladding in an environment that is significantly drier than where it was stored can result in warping or cracking as it adjusts. To avoid this, unwrap and store your cladding close to where it will be installed for around 2 weeks. This means that it will acclimatise and shrink before you start working with it.
During this time, you can prepare the wall by removing any skirting, rails, and checking the wall for weak points by tapping it. If it sounds hollow, it’s likely that the plaster is not strong enough to hold your cladding and will need to be removed and replaced.
Attaching the Cladding
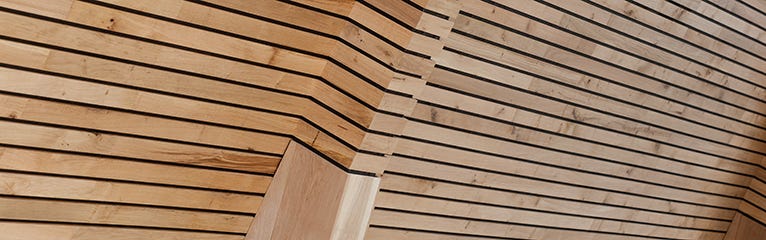
Once your wall is prepared and the cladding itself is ready, you will need to attach battens to the wall. Battens are pieces of treated timber used to support the cladding – these will need to be nailed to the wall before you attach it. In some instances you may be able to get away with just using adhesive (if the wall is very even) but nails are generally recommended. Attach battens in horizontal, straight lines at around 400mm intervals on the wall. The lowest batten should be just above the skirting.
Make sure that your cladding is ready for your finish before you attach it to the wall – you will need to inspect it and perhaps sand it down and wipe off dust so that you do not need to do any further work other than a final layer of paint or stain once it’s attached. It will be more difficult to do this later, when you can’t move the cladding around and you can’t necessarily reach to the edges of each board. Apply two layers of your chosen paint or stain to the cladding, making sure to apply it to both the front and back of each board to prevent warping, but do not apply any to the tongue and groove to ensure that it all fits together well.
Mark your boards at your chosen height with a pencil and make sure to mark any angles accurately too – if you get this part wrong, the tongue and groove in the cladding will not fit together properly. Saw off any ends or excess and sand down the edges to avoid splinters.
Once your cladding is ready and dried, choose a starting point on your wall, working from left to right. Use a spirit level frequently to check that your boards are level – even if your battens are perfectly straight it’s easy to get engrossed in your project and slowly drift off course. Drive the pins just past the groove of the cladding, straight into the batten behind it. Once one board is nailed to the batten, put the next board into position and use an offcut to protect the groove of the new board as you tap it into position with a hammer.
Once your cladding is all in place, fit skirtings and moulding around it, making sure to pre-finish it the same way that you did with the cladding. Fill any pin holes with wood filler and apply a final coat of finish to your wall.