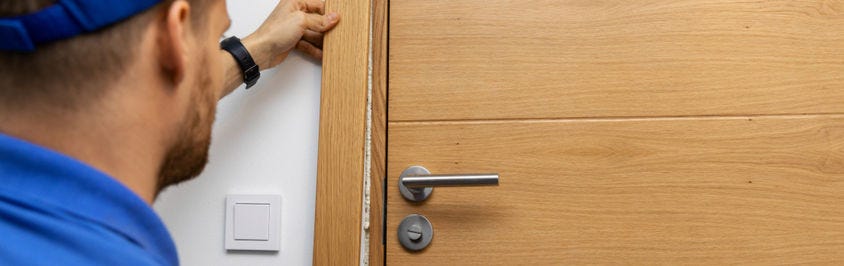
Architrave comes in many styles, materials and widths and is the ideal decorative feature to use around a door, window or even a loft hatch. For doorframes, it’s perfect to hide the untidy edge where the wall joins the frame. In this blog we give you a step-by-step guide on how to fit architrave to a door frame.
Materials and Tools Required
- Architrave
- Adhesive & Sealant Gun
- 40mm Lost Head Nails
- PVA Adhesive
- Mitre box
- Filter
- Tape Measure
- Pencil
- Pipe & Cable Detector
- Spirit Level
- Hand Saw
- Sandpaper
- Hammer
- Block Plane
- Paintbrush
- Nail Punch
- Filling Knife
- Stepladder
Procedure
Step One
The first step is check for any hidden pipes and electric cables around the area you will be fitting your architrave. This can easily be checked by using a piping cable detector.
Step Two
Using a tape measure and pencil, mark 6mm from the inner edge of the door casing (this can vary from 5mm-10mm). Repeat this across both sides (top and bottom). Then using a spirit level, join the marks to give you three perfect lines. These lines will be where the architrave will be aligned when fixed.
Step Three
The next step is to measure the door across the top and then mark this length onto the inner edge of the architrave. Make sure to leave plenty of room for the mitre cuts. At this stage you can mark the mitre cuts on the architrave.
Step Four
Place the architrave flat side down onto the mitre box and cut 2 x 45-degree mitre cuts using a hand saw. Ensure that the cuts are angled on the opposite directions (outer edge needs to be wider than inner edge).
Using sandpaper, sand the edges until they are smooth.
Step Five
Place adhesive on the back of the cut architrave and assemble the head place into position – follow the 6mm line you marked earlier to make sure it’s aligned to the side frames.
Secure the architrave in place by using 40mm lost head nails and hammer them into place. We recommend using 4 of these nails.
Step Six
The next stage is to assemble the rest of the architrave to the sides of the door casing. To do this, use a tape measure and measure from the head piece to the floor a then mark this length onto the remaining architraves pieces.
Step Seven
On both pieces mark the mitre cut direction and then follow step four – cut the 45-degree mitre cuts and then sand the cut ends.
Step Eight
Check that the architrave pieces fit nicely before fixing, and make any adjustments required – you can use a block plane to do this.
Step Nine
Grab one piece of the architrave and fix this first. You can do this by placing some PVA glue to one side of the head piece (mitre cut side) and then apply adhesive to the back of the side piece and fix into place. Use 40mm lost head nails to secure into place.
Repeat this step for the other side of architrave.
Step Ten
Use a hammer and nail punch to sink all the nails to just below the surface and side down the holes before painting the architrave a colour of your choice.